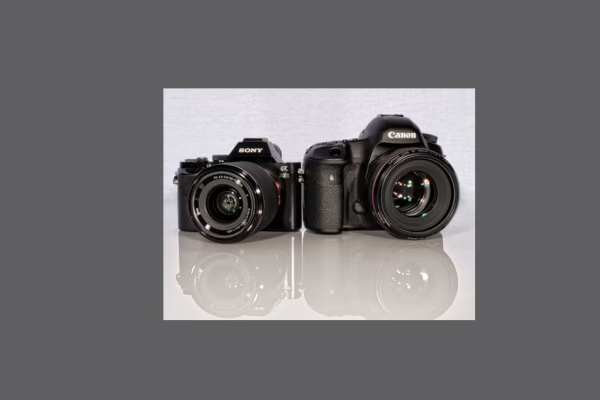
Have you ever taken a photo that looked great on your camera screen but turned out blurry when you viewed it on your computer or phone? You’re not alone. Many photographers—especially beginners—struggle with getting sharp, in-focus photos. The good news is, sharp photos are not about having the most expensive camera. It’s all about knowing how to focus properly and use a few simple tricks.
Here are some easy focus tips to help you take sharper photos, whether you’re using a DSLR, mirrorless camera, or even a smartphone.
1. Use the Right Focus Mode
Most cameras have different focus modes. The two most common are:
- Single Shot AF (AF-S or One-Shot AF): Best for still subjects like portraits or landscapes. The camera locks focus when you half-press the shutter.
- Continuous AF (AF-C or AI Servo): Best for moving subjects like kids, pets, or sports. The camera keeps adjusting focus as the subject moves.
If your subject isn’t moving, use Single Shot AF for sharp results. If your subject is in motion, switch to Continuous AF so the focus follows the movement.
2. Select the Correct Focus Point
Letting the camera choose where to focus isn’t always the best idea. It might focus on the wrong part of the photo—like the background instead of the subject.
Instead, switch to single-point focus mode, where you pick exactly where the camera focuses. For portraits, focus on the eyes. For objects, focus on the most important detail. Most cameras let you move the focus point using buttons or the touchscreen.
3. Use a Fast Shutter Speed
Blurry photos aren’t always caused by bad focus. Sometimes the shutter speed is too slow, and the camera captures your hand shake or subject movement.
A good rule is to use a shutter speed that is 1 over your lens’ focal length. For example, if you’re using a 50mm lens, your shutter speed should be at least 1/50s. If your subject is moving, use even faster speeds like 1/500s or more.
4. Hold Your Camera Steady
Even the best camera can’t fix hand shake. Make sure you’re holding your camera properly:
- Use both hands: one on the grip, one supporting the lens.
- Tuck your elbows close to your body.
- Lean against something for support if needed.
- If possible, use a tripod for maximum stability—especially in low light.
Even on smartphones, try to keep your hands as still as possible. You can also rest your phone on a stable surface when shooting.
5. Use Manual Focus When Needed
Autofocus doesn’t always work well in low light or tricky conditions. In these cases, switch to manual focus and adjust the focus ring yourself.
Many cameras have focus peaking or magnification in manual mode to help you see what’s in focus. This is great for still life, macro, and night photography.
6. Don’t Forget to Clean Your Lens
This might sound simple, but a dirty lens can make your photos look soft or hazy. Always carry a microfiber cloth and gently wipe your lens before shooting. Also check for smudges or dust on your phone camera lens—it makes a bigger difference than you think.
Taking sharp photos is all about understanding how focus works and using the right settings. Use the correct focus mode, select the right focus point, hold your camera steady, and choose the right shutter speed. With a bit of practice, these simple tips can take your photos from blurry to brilliant.
Whether you’re taking portraits, landscapes, or everyday shots, sharpness helps your photos look more professional and eye-catching. So next time you head out to shoot, keep these tips in mind—and enjoy the crisp, clear results.